Welcome , so happy you could pop in! Today I decided to do the huge cabinet inside over, I introduced this piece in red but I have since painted it white. So just whats going on behind closed doors here atSweet Tea N' Salty Air.
First things first , I completely emptied out the cabinet, I had never painted the inside before. So it was just bare wood. So I mixed up a white wash and completely painted the surface. For the work surface I did a faux wood surface topped off with a Rustoleum sealer.

If you visit here, you know I just love that old time greenish color.
 Ok lets see whats behind these closed doors!
 Well here you have it, everything you need to bake up some goodies. My Kitchen Aid mixer and chopper, all my baking powder substances, Bowls,Apron, sugar and flour.
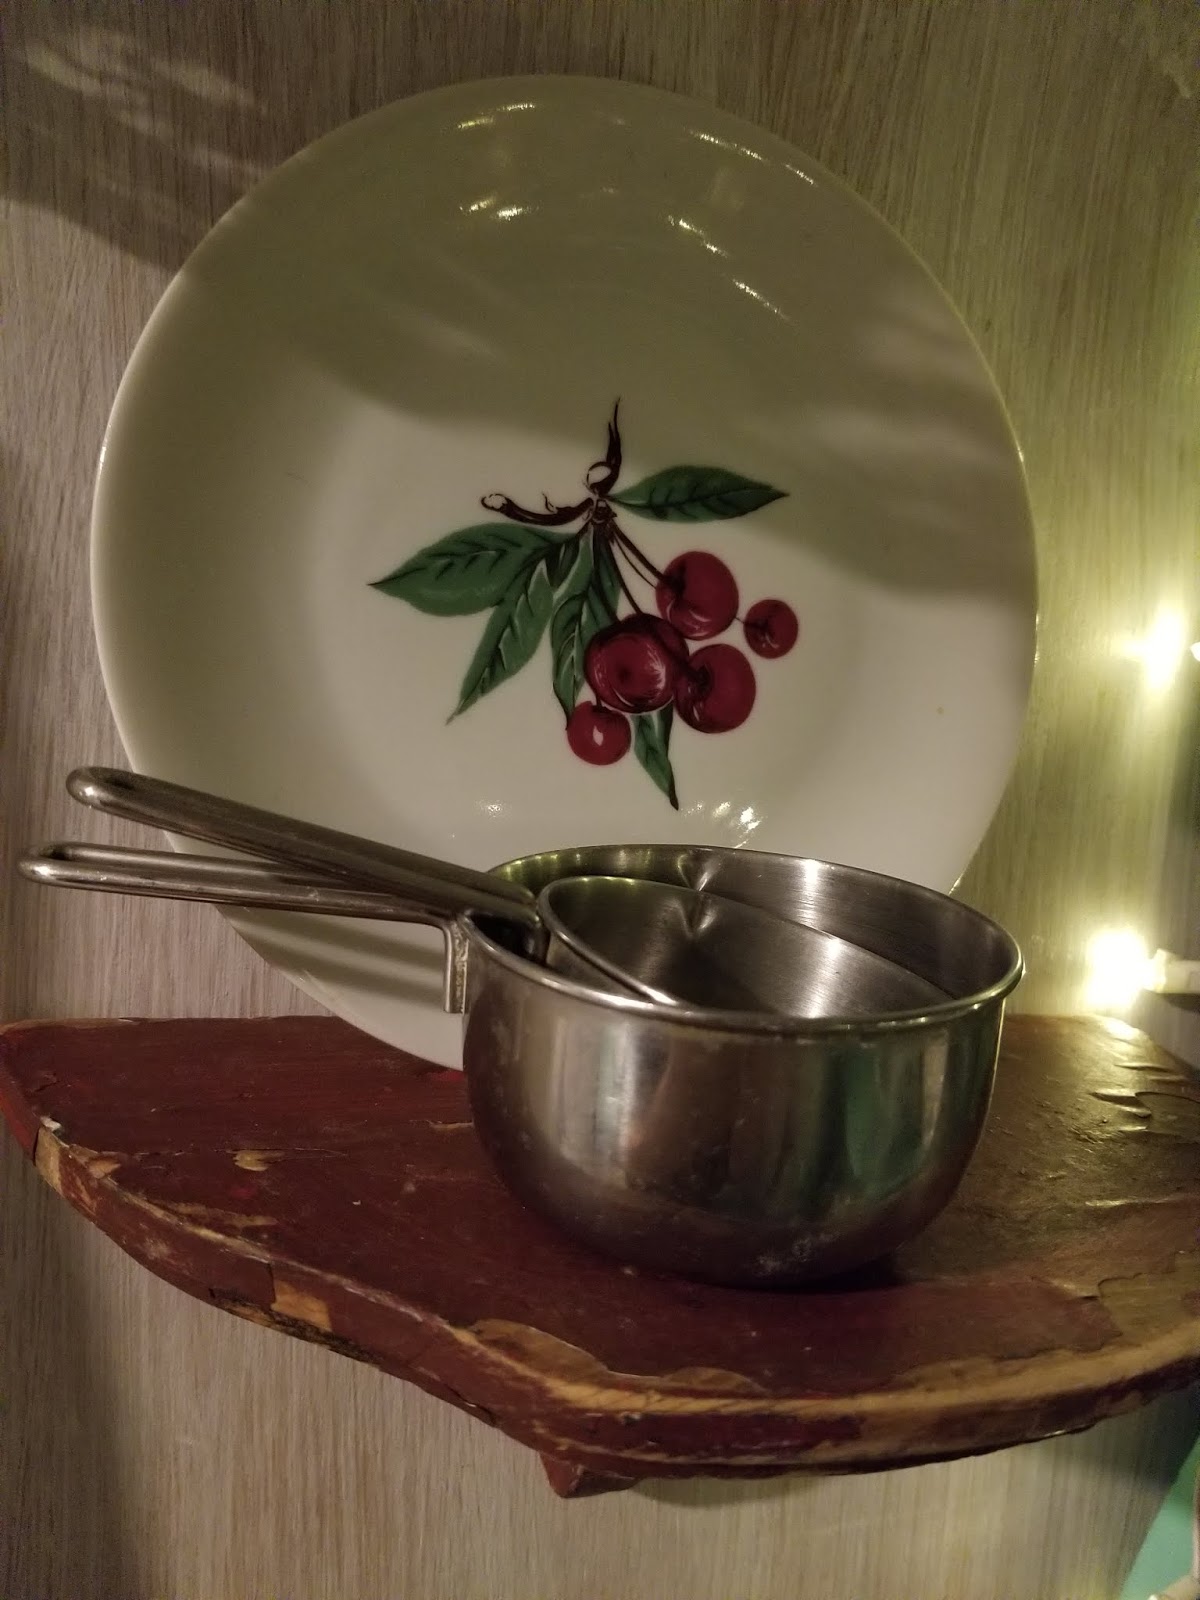
 Even some old tiny shelves, also some pretty dishes that are fitting for summer
 These cookbooks are vintage and belonged to my grandmother whom made some very tasty goodies.
 Love this vintage cherrie material, I found it at a thrift store as a tablecloth but it was pretty tattered so I savaged pieces.

 I used a large lettered stencil for the cake sign.
 The top where I have the white curtain houses large pasta bowls, dinner plates and desert dishes.
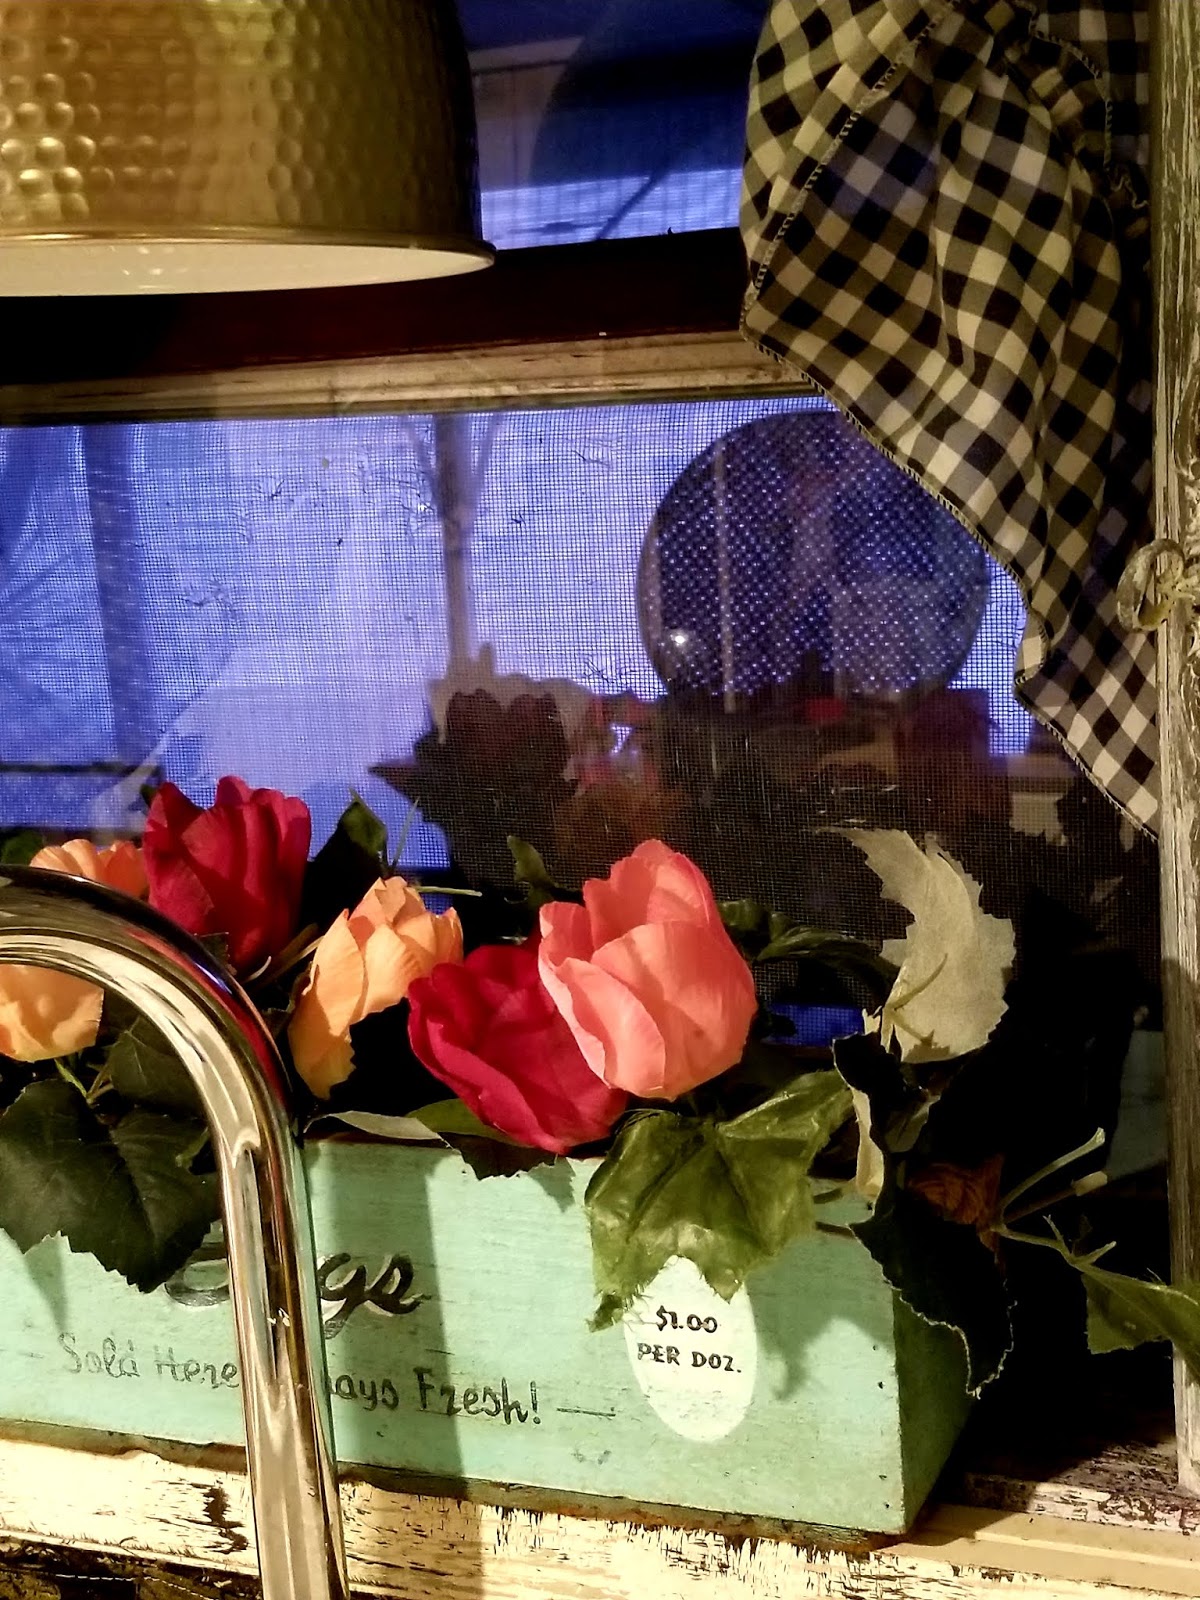
 I couldn't resist some black and white checks in the kitchen.


 I was lucky enough to get my grams little recipe box, filled with treasured recipes so I thought it would be fun to make a little recipe card garland.


 I hung some petite white candle holders on my makeshift shutters.


 This was an old metal coffee pot that had seen its day so I painted it my favorite color and freehanded a rooster on it.
It sure was a fun little makeover and I am thrilled you stopped by
Until next time,
Lisa
First things first , I completely emptied out the cabinet, I had never painted the inside before. So it was just bare wood. So I mixed up a white wash and completely painted the surface. For the work surface I did a faux wood surface topped off with a Rustoleum sealer.


It sure was a fun little makeover and I am thrilled you stopped by
Until next time,
Lisa


