Wednesday, January 31, 2018

A SHIPLAP WALL USING NO WOOD?HAMMER OR NAILS THAT ANYONE CAN HAVE EVEN IN AN APT.

Hi there welcome!   Hope everyone is enjoying the day. Lets talk Shiplap for a bit, I was thinking that Joanna Gaines of Fixer Upper was maybe just a tiny bit over doing it with her shiplap but let me tell you she has introduced a wonderful way to explode your home with vintage style and beauty her  excitement is fully understood now.....thank you Joanna for introducing me anyway to such a smashing wall finish.

So this is something I wanted to try for a bit , I have a huge wall in the kitchen that I cant really remedy meaning everything I do there I really am not happy with until now that is........people all you need is a paintbrush measuring tool lots of masking tape, dark paint and light paint and you can achieve the "shiplap look".  Lets take a look

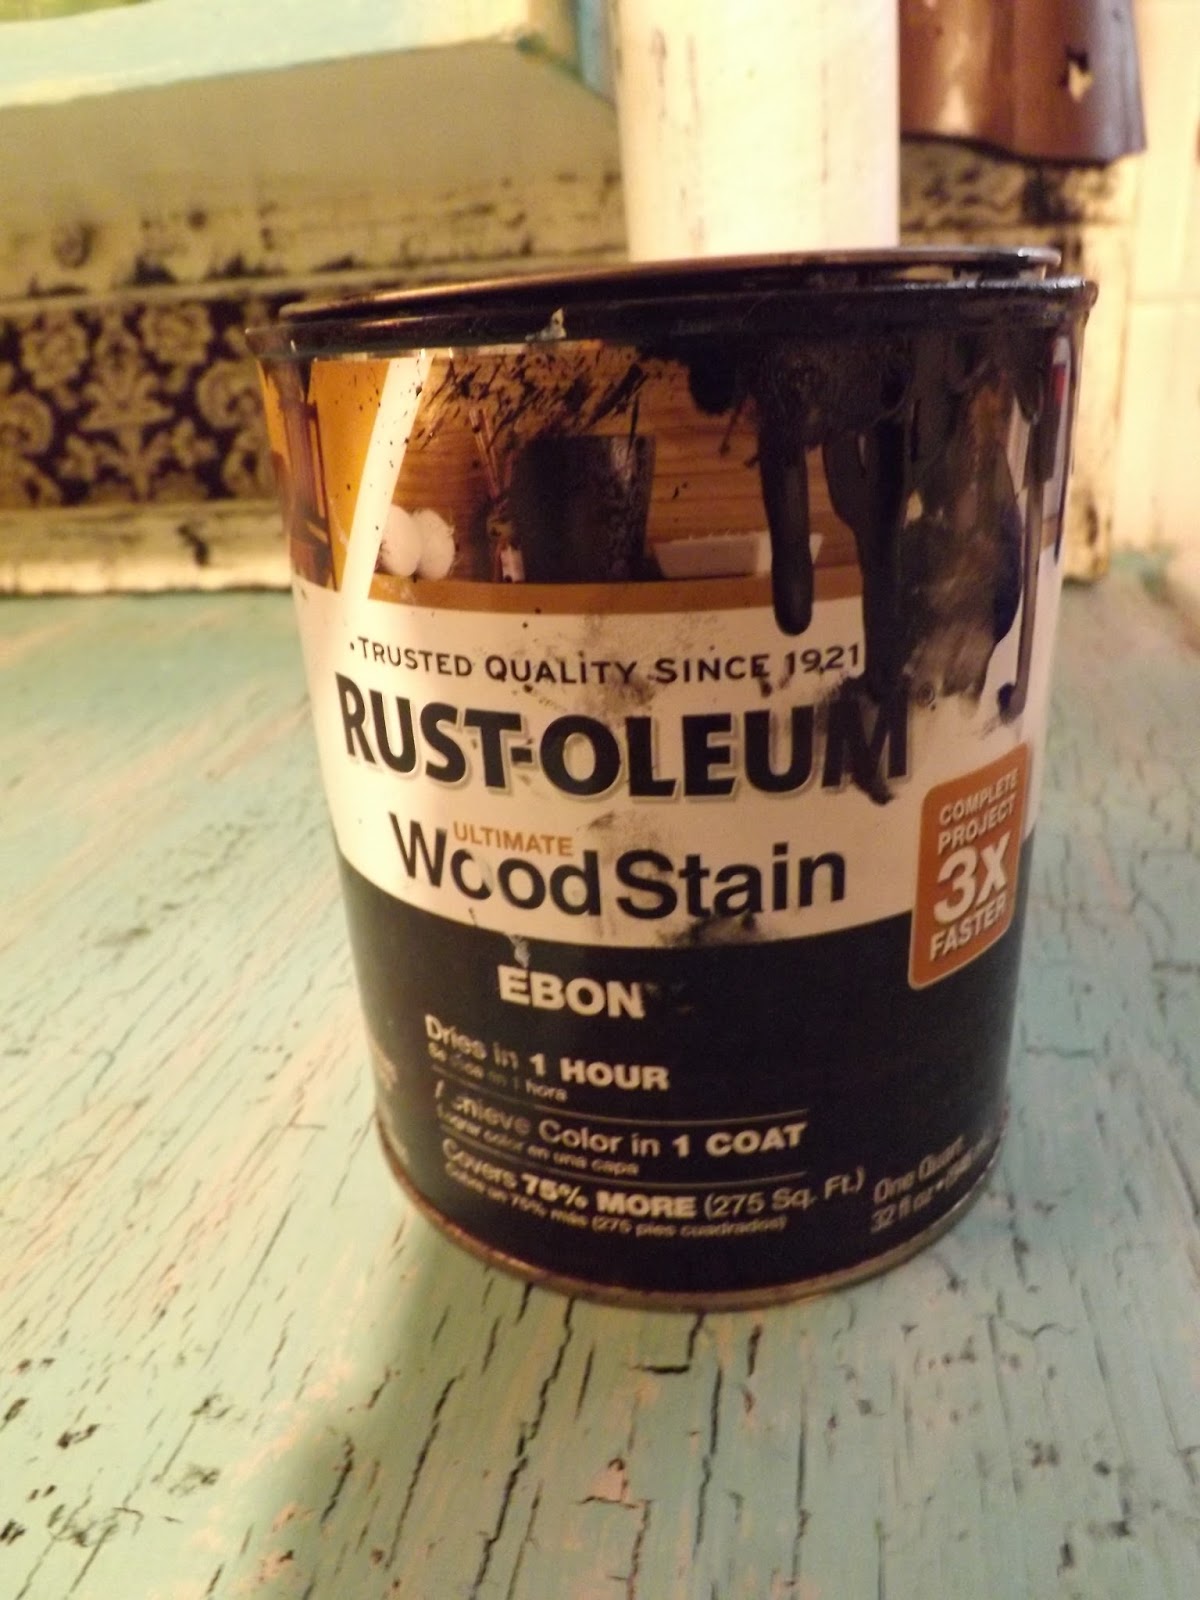
ok so this is just a flat black painted wall and you do need a dark base color or if you prefer use a light base color and dark on top but the most important trick to all this is CONTRAST  For this Faux shiplap application you will need plenty of masking tape , a measuring device , brushes and paint and roll your sleeves up because this is going to be some work but the end result will be well worth it.


 Her you have it....shiplap may not be for everyone but I'm in love! and the best part is no wood, hammer nails needed!
 I finally used this little round vintage  wooden table and also pulled some small chippy by that I mean they have the aged look with the black chipping off and mustard yellow showing through , I covered the seats over as well and they seem to fit well with the little table have not decided if I want to paint it or not but for now I will love the wood look.
 I also did the adjacent wall that leads to the dining room, Its so funny I can put any sign or picture or what ever on the faux shiplap and it looks great!


 I crafted this Farm help wanted sign yesterday.....


The one great thing about faux painting is that I gave the faux boards some scuffs by dry brushing in those areas. Dry brushing is merely not using much paint on the brush. 

 I found this old vintage ladder just crying on the roadside take me home so I don't go to the dump...of course I put him in my SUV and brought him home!And of course if you follow me you know I love strings of lights here and there and everywhere. Such a cool area for sitting w/tea and raison toast


 For Valentines I love decorating with my vintage pink aprons


I scored this huge wooden bowl on Saturday for 5$ I filled it with white lights , a wire basket a tin can and wooden rooster on top. 

So if you want to give this process a whirl you can start by painting your wall dark let it dry, while that's drying gather your tape, measuring advice and your top paint. 

Go on and tape your first faux slat  I did mine about 7 inches wide. once its taped of go ahead and paint your first slat you can paint it without the worn like if that's your liking. ok heres the tricky part you are going to ever so gingerly lift the tape and move it down and  stick it back on just a smidgen you can see through the tape and this is going to be the line between slats. So instead of using really long pieces of tape use shorter ones so this process will be easier. Once you have that same tape in place now you can tape off your second slat of wood and just repeat the process.  I plan on making an instructional video that can explain the process by sight.  So is faux shiplap for you yey or nay?

So glad I could share this today ..maybe you can remedy a problem wall at your home
Happy painting !
Lisa
Come join in on the party inspiration!

http://www.savvysouthernstyle.net/2018/02/wow-us-wednesdays-377.html

Wednesday, January 24, 2018

A Farm house ladder from 2 pieces of pine wood and left over chair spindles!

Hi there so happy you could stop on by........I have been looking at a huge bucket of worn black spindles, if you have been visiting you remember the tall stools I cut up to make the mini fireplaces ......well I thought let me try a decorative ladder. So my first step was to make the 2 pine pieces of wood aged to match the spindles so I gave each one a paint of Vaseline , yes Vaseline  I put it on places I did not want the paint to adhere.

So with some measuring to make sure each spindle was placed evenly I screwed them all on the pieces of pine

 An easy project that goes well with the farm house or country theme.
 Next time you are disassembling something with spindles by all means save them in your stash pile.


Thanks so much for visiting today
Time to get your craft on!
Lisa


Come join me where I share my crafts


https://cedarhillfarmhouse.com/the-scoop-310

Thursday, January 18, 2018

A PRETTY VALENTINE PAINT LID GARLAND & SIGN FOR THE MANTLE THAT YOU CAN MAKE!

Hello and welcome! hope everyone is well and keeping warm. Valentines day is swiftly approaching I crafted a garland out of old paint can lids and a sign from some old wood from my stock pile. Both crafts are very easy to do. I go through a lot of paint so I have been saving the lids  all I did was painted them all black   , mixed up some pretty pink and painted each with a heart to tone the colors down I gave them a wash of very light brown paint. once they were dry I went to my grams button stash and glued a pretty button to each. I attached them to some white cotton material and hung them on the mantle.


The sign was super easy you will need a painted board  I used some white cotton rag pieces about 1 1/2 in wide and 4 inch long . I just tied then each into a knot , then hot glued them in the design of a heart , painted the arrow , I decided to go over the knots with some brown paint to make it look aged so just a quick brushing did the trick.

 I had some pretty green material so I cut some strips and rolled the into flowers. It was such fun crafted these projects and even if you are a beginner these would be easy and fun!
                                                             Happy Crafting
                                                                    Lisa          

Come join me where I share my craft   and inspiration run high!

http://www.funkyjunkinteriors.net/2018/02/diy-salvaged-junk-projects-413.html?


Sunday, January 14, 2018

CRACKLE FINISH COUNTERTOPS FOR MY VINTAGE STYLE KITCHEN

Welcome !   Nice of you to stop on in today, if you have been a visitor you know that I love to do faux finishes  especially on my countertops one recent one I shared was my faux painted Soap stone dining room countertop. I just love soap stone to me it is one of my favorites so I studied it a bit and came up with this    https://mrsblackstone.blogspot.com/2017/08/painted-faux-soapstone-countertopsyou.html   I still have them and they are working out wonderful. So I was wanting to try something that would be vintage looking and to mimic old wood. To start with my counter tops  they were just done with some painters choice by Rust-oleum  So I cleaned the counters well with some warm water, After they were totally dry I gave them a coat of  Ebony rust-oleum Wood stain  and let it dry to the touch which means it would not smear 

This is an oil base paint not water cleanup.  I then applied some flat grey color paint I had on hand. After it was pretty much dry I took my favorite color "gramas green" to some you call it seafoam ??? I mixed this color myself and use it allot in my kitchen and living room . I gave it a brushing of this color but just here and there I left some of the grey showing........then the magic starts  as time went on and drying became more complete the crackling process began ,I must say this is the best I have seen . The black came through very well.


It gives an old wood look that works well with the farm /country kitchen theme


Under the shelf  I placed an old shutter that I placed a piece of material on


If you do decide to paint this crackle finish it would be wise to add a couple coats of this Polycrylic so the counter can take regular abuse. 


 This is a little Valentine sign and a heart garland over the stove

My kitchen window I decorated with a window with chicken fence and a pretty white topper I made 
                

Good luck if you try this process it is important to use soft brushes to apply the paints.

                                                            Until next time 
                                           Happy decorating & crafting   Lisa


Friday, January 12, 2018

AN EASY VALENTINE CRAFT FOR YOUR HOME!

Hi there welcome!   Valentines day is approaching us rather quickly and if you know me you know that not a holiday goes by without  some fun décor . Today I have a great craft ....easy to do and very inexpensive!  What you will need is some heavy material such as upholstery material and some regular cotton material that can be ripped into pieces. If you choose a plain material you can add some grain sack style to it such as I did. Your table is going to look Valentine festive !


The best way to cut a heart out is to fold it in half  and then just make a light pencil or chalk mark. Our Goodwill often has material ...the local material store donates to them so I got about a yard and 1/2 for 1.99


Now you are going to get your material fringe ripped up I would say mine are about 7 in. x 3 in so rip enough to go around  , I used a pair of scissors to make the hole just big enough to feed the material through and knot it up

I decided to go for the Grain sack look so I just used some tape and regular craft paint to make the lines

so here we have it a pretty dot of décor for your table


I also made some small hearts and added some grain sack lines and made a garland for my bakers rack. I took a piece of light cardboard and cut the heart out and sewed them on my machine.......yes did you know you could sew paper on your machine?   Any questions on this craft please give me a holler, I would be pleased to assist you! Hope you will get your craft on and give it a try!   
Thanks for joining me today Lisa


Come  and join me where I share my crafts


https://cedarhillfarmhouse.com/the-scoop-309/?


Saturday, January 6, 2018

A winters fireplace full of whimmsey

Welcome   brrrrrrr! its cold here in S. W. Florida and everywhere for that matter hope you are as warm as can be. This winter I wanted to go with a winters farm theme. I crafted a sign my imaginary WinterCrest Farm and all the farm items to go with it . I painted things I had been saving when I conjured up this idea months ago.

So my kids thought I was crazy saving the Mrs. Butterworths plastic bottles but I gave them a coat of black chalk paint and added the price   seemed fitting because the farm sign says pure maple syrup.

 White lights and a few baron branches to give the winter glow

This little ceramic piggy bank also got a lick of paint 


I added my vintage wooden breadbox filled with raffia and some blue and white dishware


A simple rag garland


So this mantle display did not cost me any money just stuff I was saving and some paint and an old piece of wood !


Thanks so much for joining me today
Lisa


Just About Any Piece Of Furniture Can Be Beautiful again!

 Welcome! Nice of you to stop by. How many of you have the old wooden piece of furniture sitting idle in your basement ,garage or attic? I w...