
This screen door is about 2 ft wide and 6 ft high. It is just for decorative purposes, although it could be made to fit a doorway or long window. I started by gathering some wood from my stash which was 2 pieces about 3"/ 6 ft. long. then 2 more about 2 ft. x 3", then one pine board for the middle about 2ft 3 in.. I constructed all that using my electric screw driver I thought I would add a bit of fancy so I had some pieces of a shutter that came apart and a metal band so I attached the shutter pieces then the band.

You can try it out on cardboard if you like. Just place the stencil down take the scraper and fill in the stencil ,once its all filled in scrape the top so it is even then simply lift the stencil off carefully. And that's it. now you will let it dry to the hardness . This is a good time to get your paint color choices together while your waiting.

You will love the results of this process, I also have done this to my plain jane kitchen cabinets that can be viewed at Hometalk or here.

Ok now that all is dried your going to need at least 2 color choices . Here I chose black and my all time favorite Vintage blue green , my own made up name seeing I mix it from Opps paints which I have shared in the past.

You will want to first paint it the dark base color I used spray on that. Then I took the light color and used it for distressing and the center piece. I just painted the middle piece then took a damp rag and wiped it away gently so that you could see the crevasses on the design.


I added a cute flower basket

and a small basket on the bottom.


For now I have it set in the dining room but I am sure I will be moving it around as I do with everything.
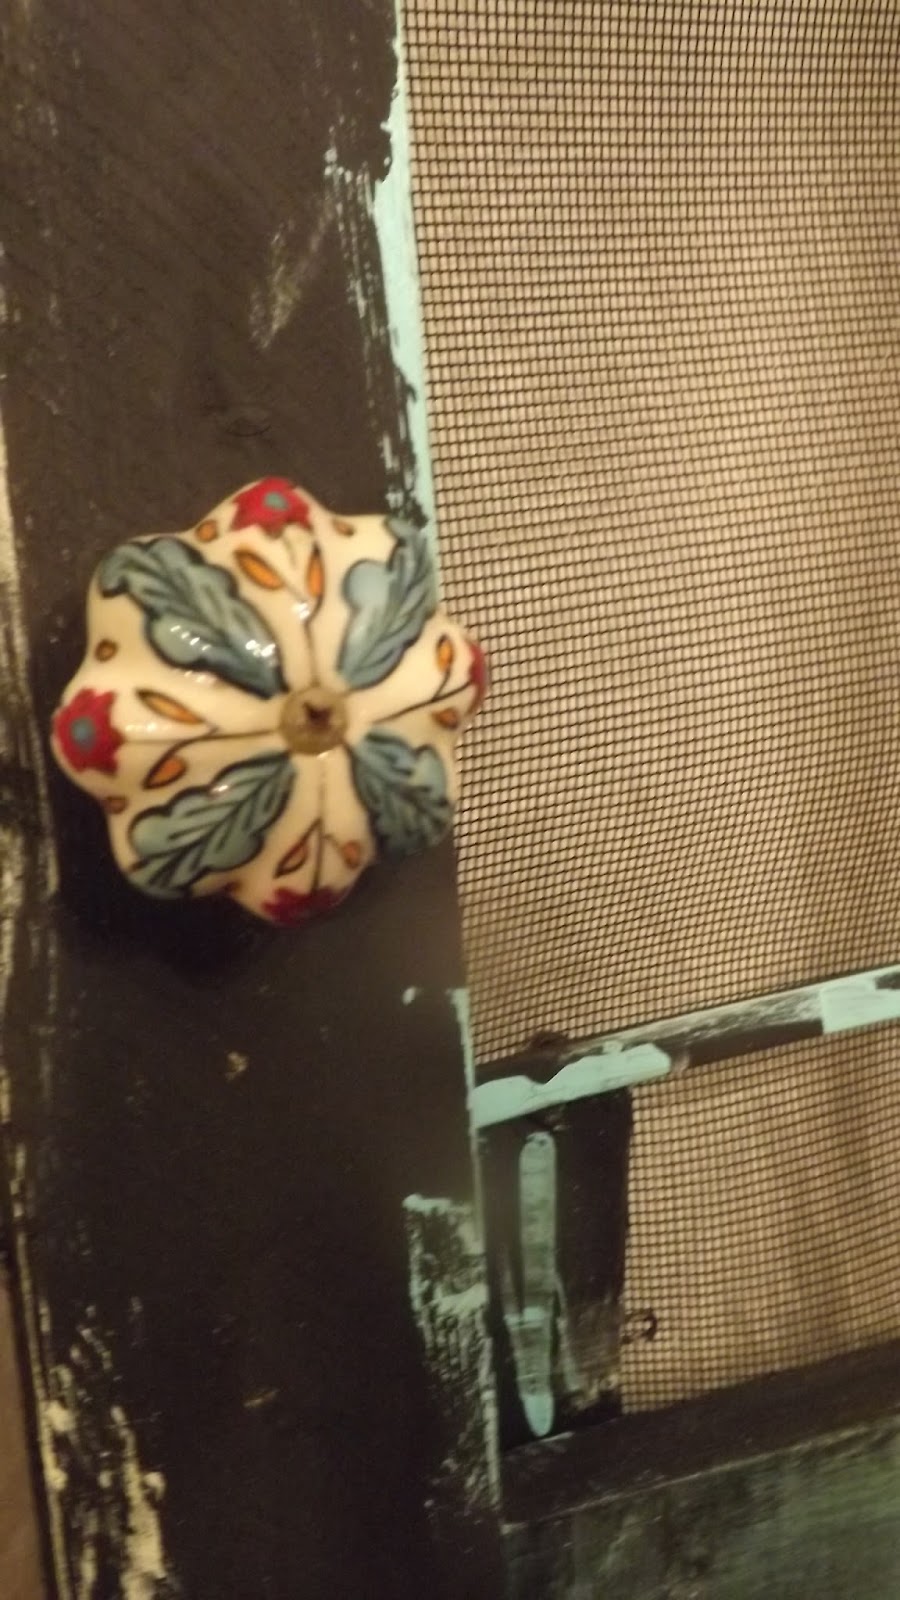
I had this huge Italian ceramic knob that works well as the handle.

Thanks so much for stopping in today1
Have a wonderful day
Lisa
Come join me where I share my crafts .....lots of fun and inspiration
http://cottagemakingmommy.com/


No comments:
Post a Comment
Love to chat so please leave a comment